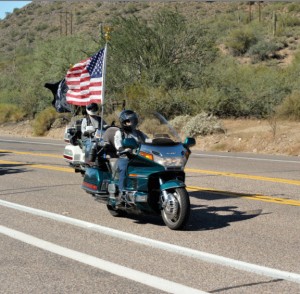
One of the most important visual affects of web design is the addition of media, usually pictures. Pictures can come in different forms; i.e. jpg, png, bmp, gif, tif, psd and few others. These are the most popular. When adding a picture to a post or page you will usually use jpg or png formatted images. (Note: A psd image will not work as this is a photoshop specific image). To add an image to the image libary from within a post or page click on “Add Media” button.

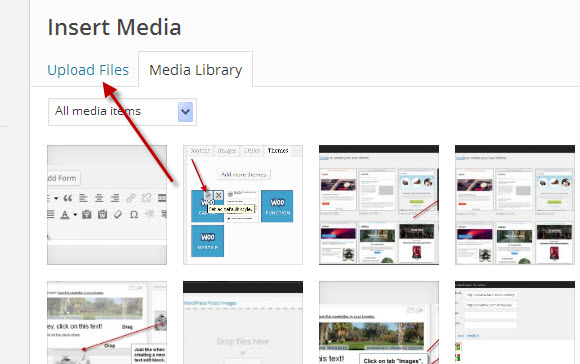 You will get a popup with a thumbnail images of already uploaded. However to upload a new image, click on the “Upload Files” tab. Now you either drag and drop the filenames into the window or click on “Select Files” which will bring up a file selection window.
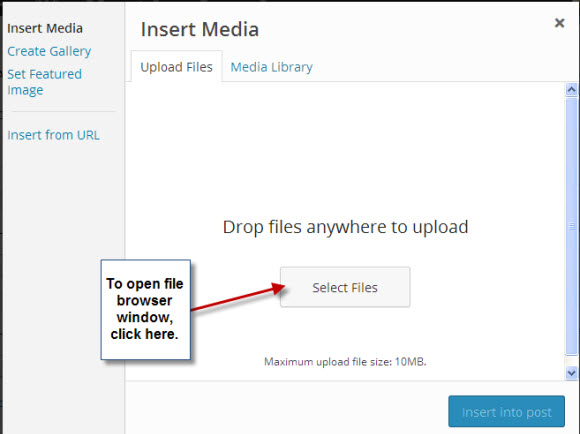 Now the image will be loaded to the media library.
 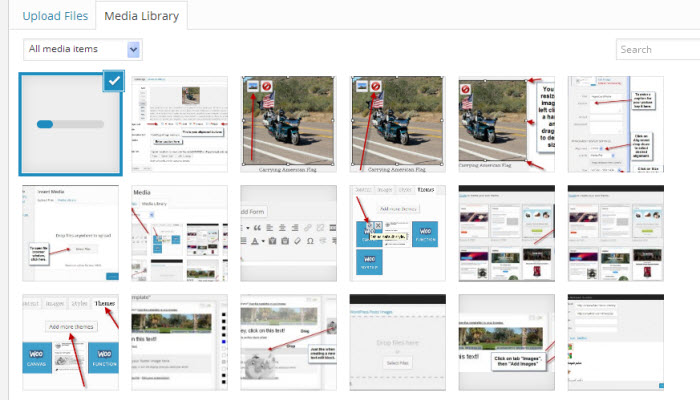 Now that the image has been uploaded you may want adjust the details of that image. On the right-hand side of the window you will find a column with a header of “ATTACHMENT DETAILS”. Adjust the details to your own needs. See picture below:
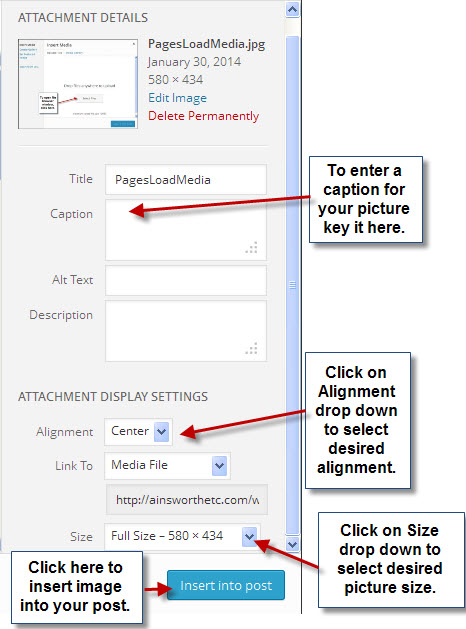 After clicking on “Insert into post”, the image will show up in your page or post. We will work with this image.
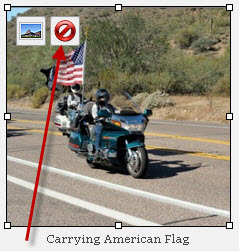
To re-size the image, click on the image, grab a handle, and drag it to the desired size. Note: if making picture larger, you may lose resolution. 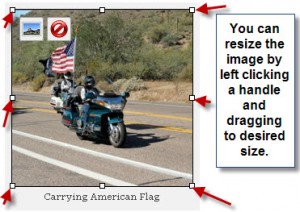 In the above image you will see a little landscape box and a red circle with with a line through it. If you want to delete the image from your post, click on the circle.
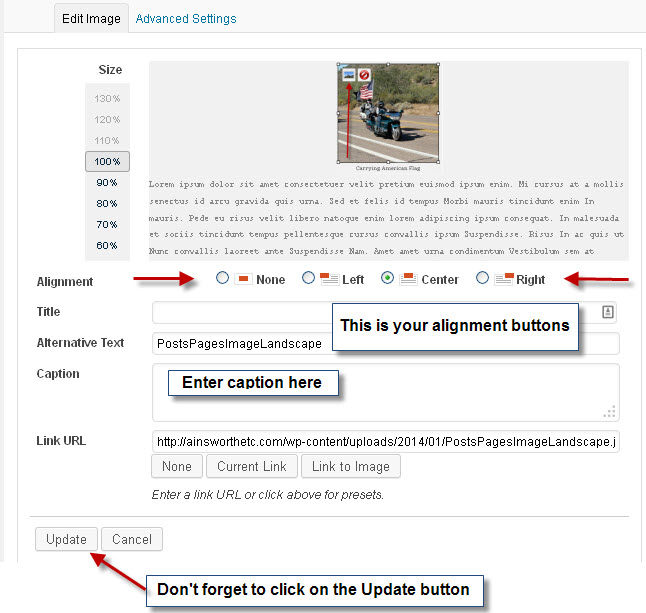
 Now let’s say that you forgot to enter the attachment details or want to change them for this post only. Click on the landscape button.
 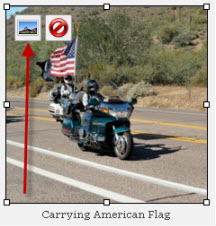 When you click on the landscape you will be presented with this window. Here you can re-size the image, set your alignment, set an image title, set your alternative text, set a caption, and set a link. Another way to set the image links is click on the picture and then click on the hyperlink icon. When clicking the alignment radios buttons, the image will adjust to show how the text will be handled in regards to the image.
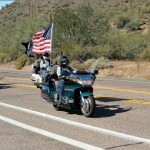 I have written some extra text here to show how the placement of pictures work. The placement is controlled by the alignment of the image. This is a left alignment.
 I have written some extra text here to show how the placement of pictures work. The placement is controlled by the alignment of the image. This is a right alignment.
I have written some extra text here to show how the placement of pictures work. The placement is controlled by the alignment of the image. This is a center alignment.
Now if you want to place pictures side by side you select alignment of none and picture caption.
If you can master the above, you will be able to insert most pictures into your pages and posts as you desire. There are situations where you may need to use a table to control your picture positioning (not covered here). This is particularly true if wanting to caption your pictures in a side by side format.

