Installation of my-logit is performed following the same rules to install any WordPress plugin.
- In the dashboard, click on “Plugins” and then click on “Add New”.
- In the Add Plugins window, click on “Upload Plugin”.
- Click on “Choose File”.
- Select the file from your computer.
- When the correct filename displays, click on “Install Now”.
- Lastly click on Activate or activate the plugin in the plugins menu.
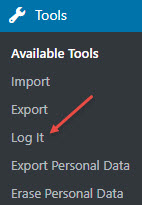
After activation the link to “my-logit” will be found in the Tools menu in the dashboard.
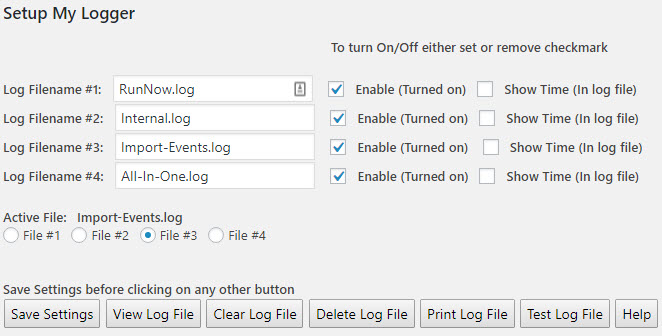
Clicking on “Log It” will bring up the page for setting the logging information.