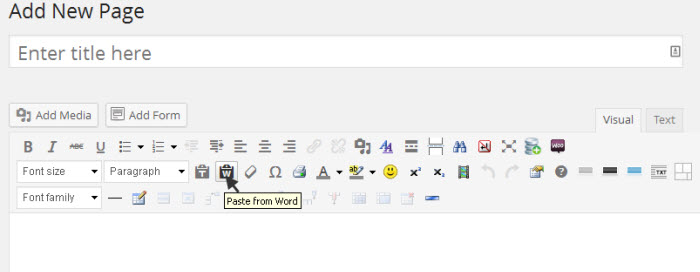
After your settings for TinyMCE have been setup your toolbar will look like the following image. To see what an icon does, just hover your mouse over it and an explanation will appear.
The previous lesson discussed adding the icons for the desired features that you may want to use when editing your posts or pages. Now you just perform a normal using the icons that have been supplied.
Next lesson will show how to setup a table.

