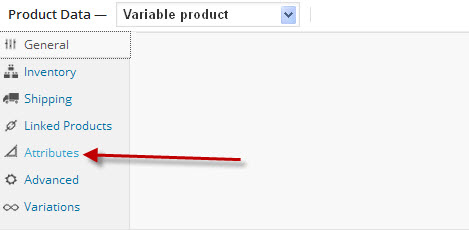
To select the attributes click on “Attributes” in the left column menu.
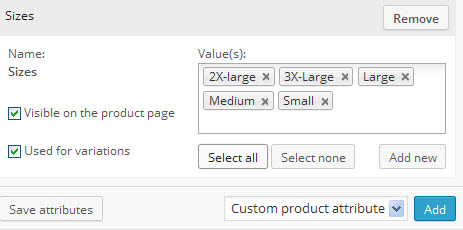
 Now you will need to click on the drop down arrow beside “Custom product attribute” and select the desired attribute and the click the “Add” button.
At this point you will see a box where you select the entries that are specific to this attribute. Clicking on “Select all” will populate the box with all possible choices, then you can remove those you don’t want by clicking on the ‘x’ for that item.
In the left side of the attributes box are two check boxes, “Visible on the product page” and “Used for variations”. Place a check mark in the appropriate box. In most cases these will be checked.

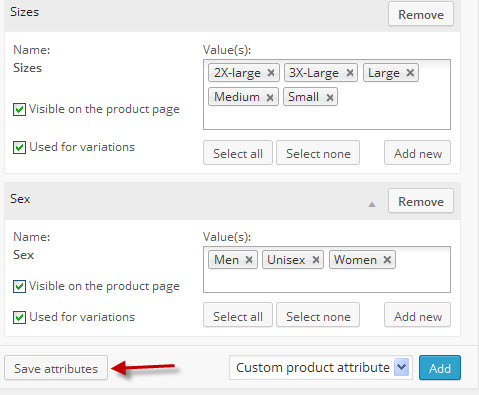
Now if you want to add another attribute, just repeat the above process. Here sex has been added along with the sizes. Be sure to click on “Save attributes” when done adding your attributes.
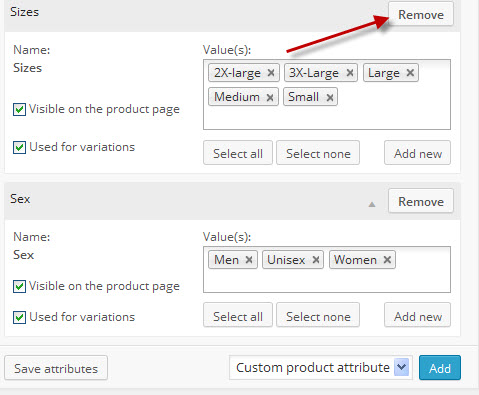
 If you find that you want to remove a complete attribute, click on the remove button at the top of that attribute box.

That’s all there is to setting the attributes for a specific product. In the next lesson we will discuss “Advanced” in the menu.

